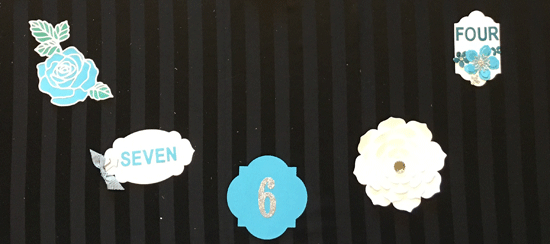
You may remember the clock I created a few months ago for the Studio. Now that the studio is finally painted, I was able to hang it yesterday! I thought you might like to see it!
Here it is! It looks so nice on the gray wall!

Here’s a picture from a little father back. I’m very pleased with how it turned out! I have a handmade clock along these same lines in my office too. It’s fun to have such a practical item be so customized!
Once of these days I will be ready to give you a full tour of the studio, I’m still making some decisions about what to put where on the walls. If you want to see it before the virtual tour, you’ll just have to come by for a class! I look forward to seeing some of you this coming week!
Sheila
Thank you for sharing “New Clock in the StampThat Studio”. I am happy that you chose “GRAY ” to paint your Studio Walls. It seems to me that gray isn’t used much in decorating, but you have a way with colors that most people don’t have. The gray that you used, seems to make the room bigger. How do you attach the clock to the wall without damage? I would also like to know how the clock works, work on the wall? Does that sound silly!!LOL! Thank you for sharing the steps of renovating your “Studio “, other wise I would not know how it looks. Have you thought about making a video of one of your classes? Timothy could help you out in that department, he’s great with a camera. One moe thing, I just want you to know that I appreciate you for all of the hard work that you do.. Have a great day.
Becky Jensen
Hi Sheila,
The pieces are handmade pieces are attached to the wall using 3M sticky strips. The “works” are part of a kit I purchased, I just didn’t use the “numbers” they provided in the kit and made my own. Along the lines of this (but not this exact one) https://www.amazon.com/Modern-Frameless-Large-Decorations-digital/dp/B01AQ80C26/ref=sr_1_9?s=home-garden&ie=UTF8&qid=1467599365&sr=1-9&keywords=DIY+clock